It's frustrating that, at an art collage, there doesn't seem to be a large format scanner that I am aware of. Here's how to make due with scanners smaller than your artwork. Click any of the images for a closer look.
To demonstrate, I'm going to use this picture, which is all kinds of awesome, of Maria Germanova costumed for her role in the Mocsow Arts Theatre's 1908 production of Stanislavsky's Blue Bird. Badass.
Let's assume this pic is 10"x16". Scan the top and bottom sections of the image. Do a full bleed type scan; it's important to see the edges of the image, and enough shared content for the two images to overlap (I'm going to call the top part A and the bottom part B).
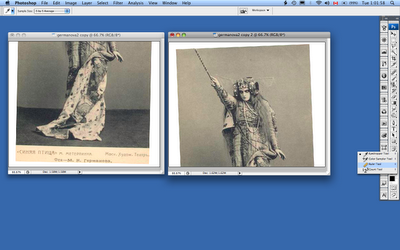 It's unlikely that both A and B are going to be perfectly straight, so let's straighten them. Under the Eyedropper tool is the Ruler tool. Click and drag the ruler tool along the longest straight edge of the images. Go to Image> Rotate Canvas> Arbitrary and we see it has automatically calculated how many degrees to rotate the image in order to make it straight. Be sure to rotate them in the right direction.
 Both images should now be essentially at right angles. Crop off the leftover crooked part from image A (don't take off any more than necessary).
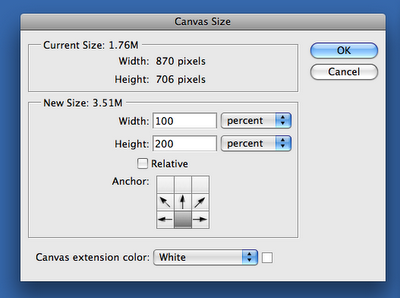
Leave image A for now and go to image B. Let's resize it using the Image>Canvas Size (NOT Image Size!) menu with the following settings (set units to "percent"): Height = 200%; Anchor = bottom. This will add enough blank space to the top of image B for us to paste image A in there.
 Go to image A and Select>All; Copy>All. Go to the image B and Paste. It will automatically paste onto a new layer. Set this layer to Multiply so it becomes transparent .
 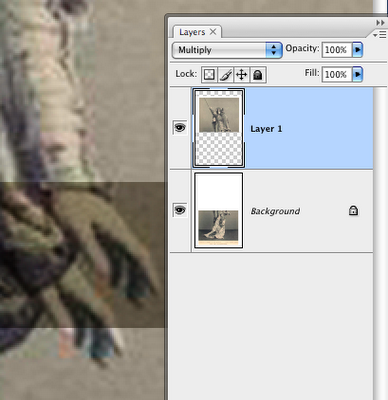 Keystroke V activates the Move tool and will allow you to click and drag the top layer around to line it up with the bottom. Use the 4 arrow keys on the keyboard for the fine tuning.
In theory, we should be done here, but if you now set the top layer back to Normal you'll probably end up with something like this, an obvious seam:
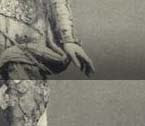 That's just because, again, most of us don't have access to awesome scanners. So set the top layer back to Multiply and let's fix it.
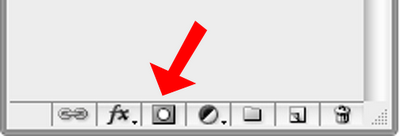
Add a Layer Mask to the top layer by clicking this icon at the bottom of the Layers window.
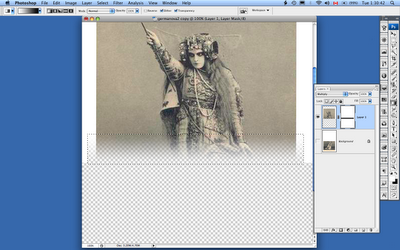
Using the Marquee tool draw a box just like this (almost to the top of the overlapped area; slightly below the bottom), being sure the Layer mask is selected on the top layer.
Set your colors to black & white, and use the Gradient tool (found under the Bucket tool) to fill the Marquee. To be sure your gradient is going in the right direction, turn off the bottom layer. If the Layer Mask Gradient is successful, the top layer should look something like the image below, fading away at the bottom. If it's fading in the other direction, swap the black and white color boxes, or just click and drag the Gradient tool in the opposite direction.




1 comment :
Ha! Wow! Mme. Germaova is all over the place now.
When I was compiling all my research a few months ago - nada, zip, zilch. I would love to see the end result collage - I do hope you post it!
Post a Comment